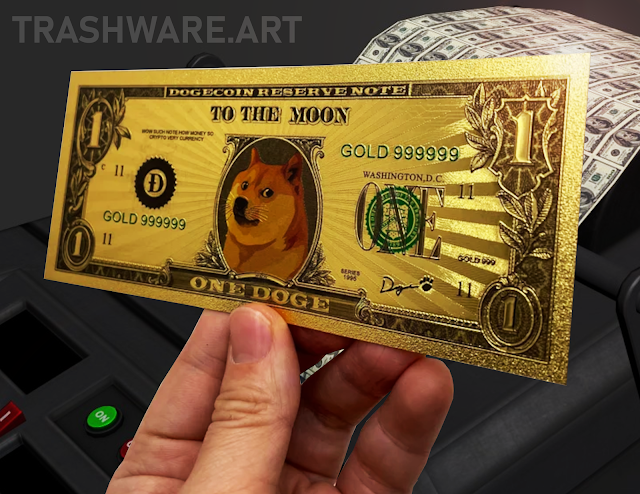
Such Mining! How to Turn a Home Computer into a Dogecoin Printer (Step by Step guide)
Such Mining!
How to Turn a Home Computer into a Dogecoin Printer!
(Step by Step guide)
Introduction:
Greetings! This guide is geared for beginners and those new to cryptocurrency and mining. We will learn how to earn doge by mining with something as simple as a home computer! Typically you would need a high-powered machine to mine dogecoin, however there are ways to earn dogecoin while mining other cryptos using hardware such as a CPU or GPU. It is possible to mine using both a CPU and GPU, however this requires tuning to be correct as the system can easily overheat.
Be mindful of your hardware and investigate what kind of heat (like fans) control you have available. Typically this can be found within the BIOS of your motherboard (spam the "delete" key as your pc starts up.) If you own a decent (4+ gig GDDR5) GPU, I suggest starting with GPU mining. If you do not have a decent GPU on your system (like a laptop) you can still CPU mine using monero.
Getting Started:
PROHASHING (LINK)Create an account with prohashing. They will be the "pool" your hardware will work for and they will pay you dogecoins for the effort! When using the referral link found in the link above, you qualify for a 0.50% signup bonus on all earnings from mining for prohashing in your first 30 days. The bonus is paid out at the end of the 30 day period.
You will need to remember your account username to connect your mining software to the prohashing pool. For now just create and remember your username. I am suggesting prohashing due to the ease of use and ability to get paid in many coin types no matter what algorithm you are mining.
Using this guide you should be able to connect to another pool if that is your preference, by just changing the batch file according to the information that specific pool gives you. Please be aware this guide is assuming you are using prohashing as suggested.
Miner Download:
Download a copy of each software folder and save them somewhere separate like a usb drive you can name “toolbox”. It is important if you are creating multiple miners on multiple computers that you use a “clean” copy of the original file so the miners can detect your system hardware accurately.
Configure Miner:
Once you have the mining software downloaded, it is suggested that you create a unique folder on your windows drive and within the antivirus menu enable an “exception” on the new unique mining folder you create to store your mining software. Windows is notorious for flagging any and all mining software, reporting them to be malware or viruses. Creating a folder with an exception will save you headaches in the future. You should also make sure to enable “run as administrator” within the properties of the executable of each respective miner.
Next we need to configure a batch file with the appropriate settings for both xmrrig and phoenix miner. You will find “example” batch files within the folders of each miner. You can edit these with notepad and rewrite and rename them. If you have multiple mining rigs you can save copies of your batch files within your “mining toolbox” usb for future use.
Copy the portions of text labeled below and paste them into a new batch file for each xmrrig and phoenix miner. Replace YOURUSERNAME with the username you created and remembered earlier. This is how the mining software knows which pool you want it to mine to, in this case prohashing.
XMRRIG BATCH FILE CONFIG:
@echo off
xmrig.exe -a rx/0 -o stratum+tcp://prohashing.com:3359 -u YOURUSERNAME -p x
pause
PHOENIX MINER BATCH CONFIG:
PhoenixMiner.exe -pool prohashing.com:3358 -wal YOURUSERNAME -pass a=ethash
pause
Remember to save the file as a batch file (.bat) and NOT a notepad file. Once you have done this for both miners, you may create a shortcut to the batch files and place them on the desktop for ease of use.
Tuning CPU and GPU:
Now that you have your files configured, let's move to the more tedious but most important part, tuning your CPU and GPU. Tuning is required because the base settings are not suited for maximum hashing efficiency. GPUs rarely need more than 1200mhz on the core clock, while often requiring mostly RAM clock speed. If your CPU is not configured with a voltage limit and a maximum clock it will quickly overheat and most likely crash. Most people leave coins on the table and have higher electric bills by choosing to not learn how to configure their hardware properly.
The "Ryzen Master" software by AMD can be used to tune the CPU of AMD chipsets on windows machines, please refer to the helpful links below to learn how to configure your CPU to mine Monero.
Most intel chips run cool, much cooler than AMD and thus may not require configuration, or you may want to try overclocking. In the case that you do, please try the "performance maximizer"
NICEHASH MONEROTUNING GUIDE (LINK)
You can check the software included with your gpu for tuning, the Radeon software for AMD is quite good, or you may use MSI afterburner which is easily compatible across most GPUs.
Below is a fairly comprehensive guide on how to tune GPUs for Ethereum mining.
Please be aware the each model of GPU can and will have slightly different settings. For example some GPUS will need less core clock than others. Your individual results may even vary from others who have the same model of card, so don't be afraid to play around.
Typically the worst thing that will happen is your computer will crash - just turn the power off, restart and retry. You should focus on undervolting to achieve the optimum hashrate with as little power as possible. Cranking the power to 11 and praying for double hashrate than can possibly be achieved is not attenable and will only result in a computer instantly crashing.
Final Thoughts:
Once we run the batch file for each miner and we will see them show up on our dashboard in prohashing. I value prohashing because it allows you to get paid in many coins, so you can choose to get paid in monero or ethereum, or something completely unrelated to what you are mining like bitcoin. This can sometimes be an easy way to get coins you may otherwise not be able to due to exchange limitations.
Keep in mind the miners will not automatically configure your CPU or GPUs, it is recommended to follow steps to clock your hardware properly. Damage can be caused due to lack of airflow or temperature control, so please be aware of you hardware’s optimal computing configuration and a solution for the heat that will come from mining.
It is probably a lot to take in all at once, so I suggest doing one step at a time and saving this page for future reference. It's worth following the steps and not skipping elements such as tuning your CPU or GPU. You will suffer inefficient hash-rates, huge power consumption and unmanaged temperatures which can damage hardware if you fail to properly configure your devices before mining. Take ease, though, once it's all set you don't have to do much else and can sit back and relax and watch your Dogecoins print!
BITCOIN:
bc1q6r6hdugevzaerqmwxupdvhm80ex72jety9rf4f
LITECOIN:
ltc1qrdr2p006ldngvjvj8ru8u30cvd2yn4vg6kly2g
DOGECOIN:
DSNf5ruX7vWfTx8xQor1v5vap9uXuJhVYZ